 Katfile Premium
Automatic Backups: How to Schedule Them Easily
Why You Need Automatic Backups
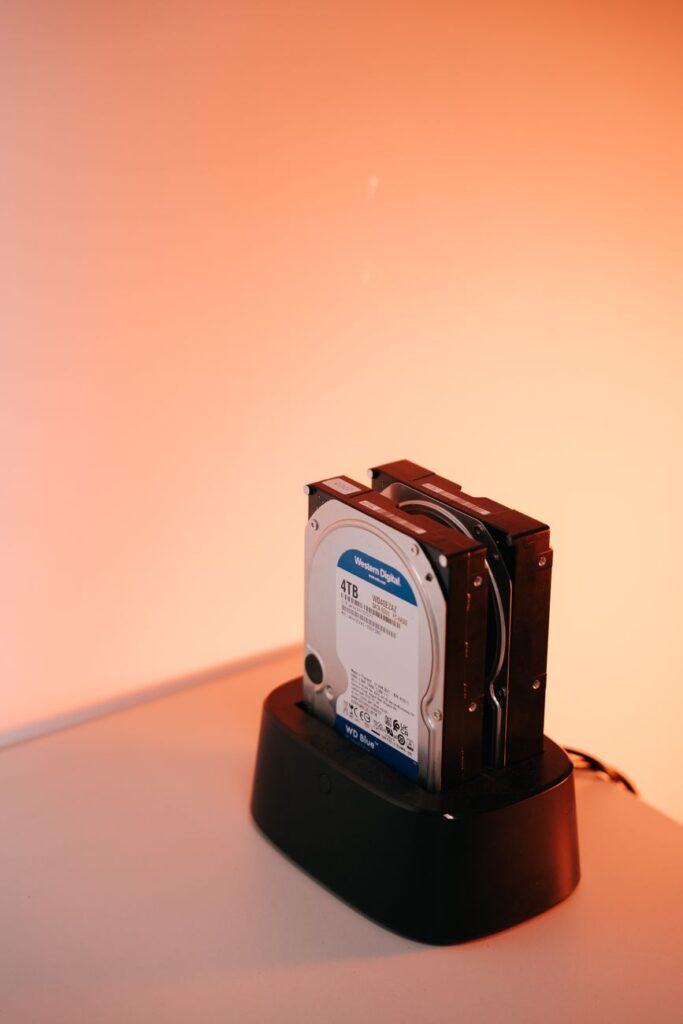
<a href="https://Katfile.com.tr/” title=”Katfile”>automatic backups are a lifesaver. Imagine working on an important project for hours, only to lose everything because of a sudden computer crash or accidental deletion. It’s a nightmare, right? That’s why setting up automatic backups is a smart move. Instead of relying on your memory to back up files manually, you can schedule backups to happen on their own, giving you peace of mind.
With automatic backups, your files are copied to a safe location at regular intervals—daily, weekly, or even in real-time. This means you always have a recent version of your work. Whether you’re a student, a professional, or just someone who values their digital memories, automatic backups are a must.
In this guide, we’ll walk you through the proven methods to schedule automatic backups, both on your local drives and using cloud storage services. By the end, you’ll have a solid backup routine that runs without any extra effort.
Understanding Automatic Backups
Before we dive into the how-to, let’s clarify what automatic backups are. Simply put, they are backup processes that run automatically according to a predefined schedule. This means you set it once, and the system takes care of the rest. You don’t have to remember to back up your files—it just happens.
There are two main types of backups: local backups (to an external hard drive or another folder on your computer) and cloud backups (to an online service). Both have their advantages. Local backups are fast and accessible, while cloud backups offer off-site protection in case of theft, fire, or other disasters. For the best protection, many people use a combination of both.
Benefits of Automating Your Backups
The number one benefit is convenience. You set it and forget it. No more nagging reminders to back up your files. Plus, automatic backups are more consistent. You won’t miss a backup because you were busy or forgot. And when disaster strikes, you can restore your data quickly, minimizing downtime and stress.
Another benefit is that automatic backups can be incremental, meaning they only copy changes since the last backup. This saves time and storage space. Many backup tools offer this feature, making the process efficient.
How to Schedule Automatic Backups on Windows
If you’re a Windows user, you have several built-in options to schedule automatic backups. One of the easiest is using File History. It’s designed to back up your files to an external drive or network location automatically.
First, connect an external drive to your computer. Then, go to Settings > Update & Security > Backup. Click on “Add a drive” and select your external drive. Once set up, Windows will automatically back up your files. You can also customize the backup frequency and how long to keep backups. It’s a straightforward way to ensure your files are safe.
Another powerful tool is the Windows Backup and Restore feature (in older versions) or the newer Backup and Sync via OneDrive. With OneDrive, you can automatically sync your important folders to the cloud. That way, even if your computer breaks, you can access your files from anywhere.
Using Third-Party Tools for More Control
Sometimes, built-in tools may not offer the flexibility you need. That’s where third-party backup software comes in. Programs like Acronis True Image, EaseUS Todo Backup, and Paragon Backup & Recovery provide advanced scheduling options. You can set up daily, weekly, or monthly backups, choose specific folders, and even create full system images.
These tools often have a user-friendly interface. You can schedule automatic backups with just a few clicks. Plus, many offer encryption to keep your data secure. If you’re looking for a comprehensive solution, investing in a reliable backup tool is a good idea.
How to Schedule Automatic Backups on macOS
Mac users have a fantastic built-in tool called Time Machine. It’s designed to automatically back up your entire system to an external drive or network-attached storage (NAS). Setting it up is simple: connect an external drive, and macOS will ask if you want to use it as a backup disk. Click “Use as Backup Disk,” and Time Machine takes over.
Time Machine performs hourly backups, keeping hourly backups for the past 24 hours, daily backups for the past month, and weekly backups for all previous months. It’s seamless and requires no manual effort. If you ever need to restore a file, you can browse through time and pick the version you want.
For more control, you can also use third-party apps like Carbon Copy Cloner or SuperDuper. These allow you to schedule backups to specific locations, create bootable clones, and set custom schedules. They are especially useful if you want to back up to a cloud service like Backblaze or iCloud.
Cloud-Based Automatic Backups
Cloud storage services like Katfile Online Storage offer automatic backup features. With Katfile, you can sync your files to the cloud, and they’ll be updated automatically whenever you make changes. This is a form of real-time backup. It’s convenient because you don’t have to worry about scheduling—your files are always up to date.
Many cloud services also offer versioning, so you can access previous versions of your files. This is great for recovering from accidental edits or deletions. To set up automatic backups with Katfile, simply install their desktop app, choose the folders you want to sync, and the rest happens automatically. It’s a friendly solution for those who want simplicity.
If you prefer a more traditional schedule, some cloud services allow you to set specific backup times. However, real-time syncing is often more reliable because you don’t lose any changes made between backups.
Best Practices for Automatic Backups
To get the most out of your automatic backups, follow these proven tips. First, always test your backups. Occasionally, restore a file to ensure the backup is working correctly. It’s better to find out a backup is corrupted when you don’t need it, rather than during an emergency.
Second, use the 3-2-1 rule: keep at least three copies of your data, on two different types of storage, with one copy off-site. This ensures you’re covered in case of hardware failure, theft, or natural disasters. Automatic backups make it easy to maintain this rule.
Third, consider encrypting your backups, especially if they contain sensitive information. Many backup tools offer encryption, or you can use encrypting sensitive files as an extra layer of security. This protects your data if your backup drive is lost or stolen.
Another best practice is to monitor your backup logs. Most backup software provides reports on successful and failed backups. Check these periodically to ensure everything is running smoothly. If a backup fails, you can address the issue before it becomes a problem.
Finally, make sure your backup destination has enough space. Running out of storage can cause backups to fail. With cloud storage, you can easily upgrade your plan if needed. For local drives, consider using a large external drive or a NAS.
Incorporating automatic backups into your routine is a wise decision. It saves you time, reduces stress, and protects your valuable data. If you haven’t set them up yet, now is the perfect time to start. You can also learn more about backing up your data safely to ensure you’re doing it right.
Don’t wait until it’s too late. Take action today and schedule automatic backups for your important files. With the tools and tips we’ve shared, you can rest easy knowing your data is safe. Start by exploring your built-in options or try a reliable cloud service like Katfile. Your future self will thank you.


